
5 ways to connect your cable box to the TV
Connecting cables to a flat screen TV can often be a tedious task. One can easily get confused looking at the tangle of wires not knowing which cable goes where. There are 2 things you need to remember when connecting any device to your TV. The First thing is that you need to connect both video and audio cables (other than the HDMI which carries both video and audio on the same cable) and second once you connect everything you need to tell your TV from which device the video and audio is coming from. There is usually a button on the TV remote that is called “input” or “source” that once pressed will let you choose the device you want your TV to play.
There are 5 different ways to connect your cable box or any other device to your TV.
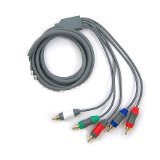
Component cables
1. Connect component cables marked as 1 on the picture above. Component cables have 3 video color coded wires marked as Pr,Pb and Y and 2 Audio wires for left and right speakers. There is also a newer version of these called Cr, Cb and Y. You will also find the same ports to the back of the TV. Component video have 1080i resolutions. To read more about these cables click here
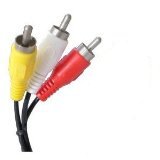
composite cables
2. Connect using composite cables, marked as 2 on the picture above. Composite cables have very low resolution and is considered as analog and not recommended for HDTV’s.
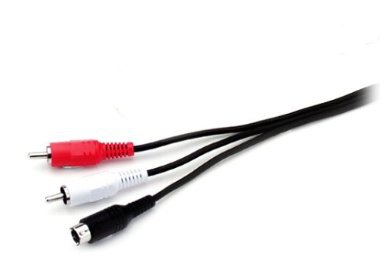
s-video-audio-cable
3 and 4. Connect your device using S-Video and Optical Audio OR S-Video and left and right audio. Please check for more info here.
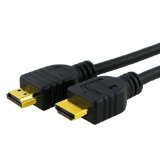
hdmi cable
5. Connect using an HDMI cable marked as 5 in the picture above. HDMI cables carry both Video and Audio signals in one cable. They have the highest resolution of 1080p and should be used with all new HDTV’s. Check this post to find out more about HDMI cables
6.Connect your PC to your Cable box
With the USB and 1394 ports marked as 6 in the above picture, you can connect your PC to your cable box and record movies and TV shows.
Please Check out our Wall Mounted TV Installation packages. Just mention “BlogDiscount” and get 10% off any product or service.

My sansui play like radio no pic ,what’s wrong?
Try changing the HDMI cable